Integrating Storybook with Drupal and WordPress
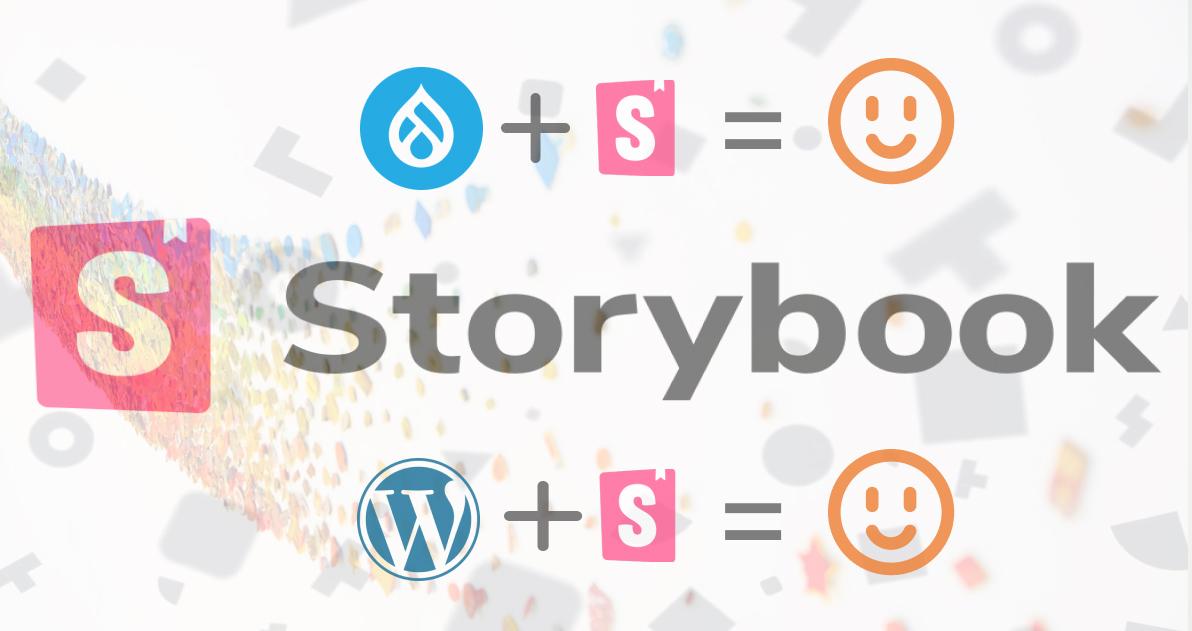
Storybook's integration with Drupal and WordPress can be a convenient approach to develop and test your UI components in isolation.
What is Storybook
Storybook is a javascript tool for organizing UI components in isolation (not in the context of a page or application) for JavaScript frameworks, including React, Vue, Angular, and Ruby. It also includes workflows to support visual regression and unit testing. Storybook allows developers to create and document UI components, test them in isolation, and reuse them across projects.
Advantage of using Storybook
Before we start incorporating this, let's talk about why a storybook is useful.
Storybook provides a component library. A component library is a valuable asset that catalogs and documents what is already styled and presents that styling with representative markup. This allows developers to formulate UI components in isolation and test them in a variety of scenarios. For example, they can generate different variations of a button component and test each with different colors, sizes, and text. They can also test components with different states, e.g. disabled or active. This is useful during development, onboarding, and when discussing modifying existing features or prototyping new features.
Developers can use Storybook to document UI components by adding descriptions, usage examples, and variations. This documentation can assistance with onboarding recent team participants and guarantee that all team participants are invariably using the identical components.
Storybook can also be extended so that the templates used to generate the sample markup come from your application's template languages. This allows you to use them directly in your theme. For example, Storybook can be extended to include Twig for Drupal websites, allowing your component library to be integrated into your custom theme.
A main advantage for a larger team utilizing a tool like Storybook to work on styling is that it runs as an application separate from Drupal or WordPress. It runs through tools familiar to numerous frontend developers, such as npm and webpack. This means it's easy for these developers to work on styling and interactivity without having to set up a local advancement environment or become notoriously familiar with the Drupal or WordPress design layer.
Storybook is a good tool for building the finest UI components that are easy to test, document, and share.
How to integrate with Drupal
Here are the steps to integrate Storybook with Drupal:
- Install Storybook by running the following command in your terminal:
npx -p @storybook/cli sb init
This command will create a new Storybook project in your current directory. - Create a Drupal module to house your Storybook files. You can do this using the Drupal Console or manually by creating a new directory in the 'modules' directory of your Drupal installation and adding a '.info.yml' file to it.
- Add Storybook files to the module. Copy the files generated by the Storybook installation into the module directory. These files should be in the '.storybook' directory.
- Update the module's '.info.yml' file. Add the following lines to the '.info.yml' file in your module directory:
$build = []; $build['storybook'] = [ '#type' => 'html_tag',

	'#tag' => 'div',

	'#attributes' => [

	'id' => 'storybook-root',

	],

	];

	$build['#attached']['library'][] = 'my_module/storybook';

return $build; - Start Storybook by running the following command in your terminal:
npm run storybook
You can now navigate to your Drupal site and view your Storybook by visiting the page where you added your recent block. You have now integrated Storybook with Drupal and can adopt it to develop and test your UI components.
How to integrate with WordPress
Here are the steps to integrate Storybook with WordPress:
- Install Storybook by running the following command in your terminal:
npx -p @storybook/cli sb init
This command will create a new Storybook project in your current directory. - Create a WordPress theme or plugin to house your Storybook files. You can do this by creating a new directory in the 'wp-content/themes' or 'wp-content/plugins' directory of your WordPress installation and adding a "style.css" file to it.
- Add Storybook files to the theme or plugin. Copy the files generated by the Storybook installation into the theme or plugin directory. These files should be in the '.storybook' directory.
- Register the Storybook files with WordPress. Add the following code to your theme's 'functions.php' file or your plugin's main PHP file:
function my_register_storybook_assets() {

	           wp_enqueue_script('storybook', get_template_directory_uri() . '/.storybook/main.js', [], null, true);

	           wp_enqueue_style('storybook', get_template_directory_uri() . '/.storybook/main.css', [], null);

	}

add_action('wp_enqueue_scripts', 'my_register_storybook_assets'); - Start Storybook by running the following command in your terminal:
npm run storybook
You can now navigate to your WordPress site and view your storybook by visiting your site's front-end. You have now integrated Storybook into WordPress and can adopt it to develop and test your UI components.